I have had the idea for this dreamy star crown on my mind for quite a while now. I haven’t really had any parties or occasions to wear one too, and I think it would make the most sense to post the tutorial for it around New Year, but I just HAD to make it. Plus, Halloween is coming up, and that gives me an excuse! So, if you want to be a princess, beauty queen, or a vintage circus performer for Halloween (because let’s face it, who wouldn’t?) or if you are like me, and just feel more confident when wearing a giant, sparkly crown while you work, then this is the tutorial for you. Let me show you how to make your own:

Sticky-back glitter foam
Headband
Wire
Rick rack or ribbon (optional)
Star template
Pencil
Scissors
Pliers
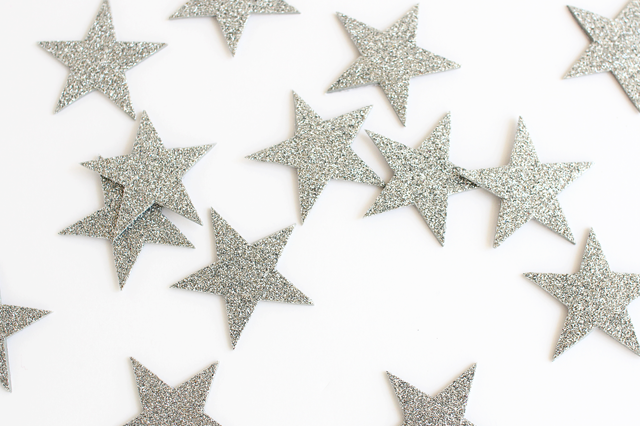
Print and cut out your star template. Trace your stars onto the back of the sticky glitter foam, and then cut them out. You will want an even number of stars, and the amount will vary depending on how many stars you want in your design.
Cut pieces of wire to the desired height of your crown. Try varying lengths for an extra dramatic look. Use the pliers to help wrap the ends of your wire to your headband, making sure you firmly press down the ends.
Straighten out the wire as much as possible, and star adding stars. The white paper back of the glitter foam should easily peel off. The goal is to sandwich the wire between two stars, with the sticky sides of the stars together. Press the middle and tips of each star firmly.
Add as many stars as you like. You can layer them, cut them up, and even try using a variety of colors. You can also glue rick rack or ribbon to the headband base if you like.

These crowns are extremely easy and inexpensive to make! So much so, I’m seriously considering creating about 10 more. And it just occurred to me how perfect these would be for party favors, and as props in a photo booth… What do you think?